Cleaning your home doesn’t have to break the bank. With these budget-friendly cleaning ideas, you can keep your house sparkling without straining your wallet. We’ve gathered practical, eco-friendly solutions that will help you save money while keeping your home neat and tidy.
Key Takeaways
- Save money while keeping your home clean with these budget-friendly cleaning ideas.
- Implement practical and eco-friendly cleaning solutions to maintain a tidy home.
- Don’t let cleaning put a strain on your wallet – try these cost-effective cleaning methods.
- Keep your surfaces clean with a simple water and vinegar solution.
- Steam clean your microwave using a vinegar and essential oil solution for an effortless cleaning experience.
Clean Surfaces with Water and Vinegar
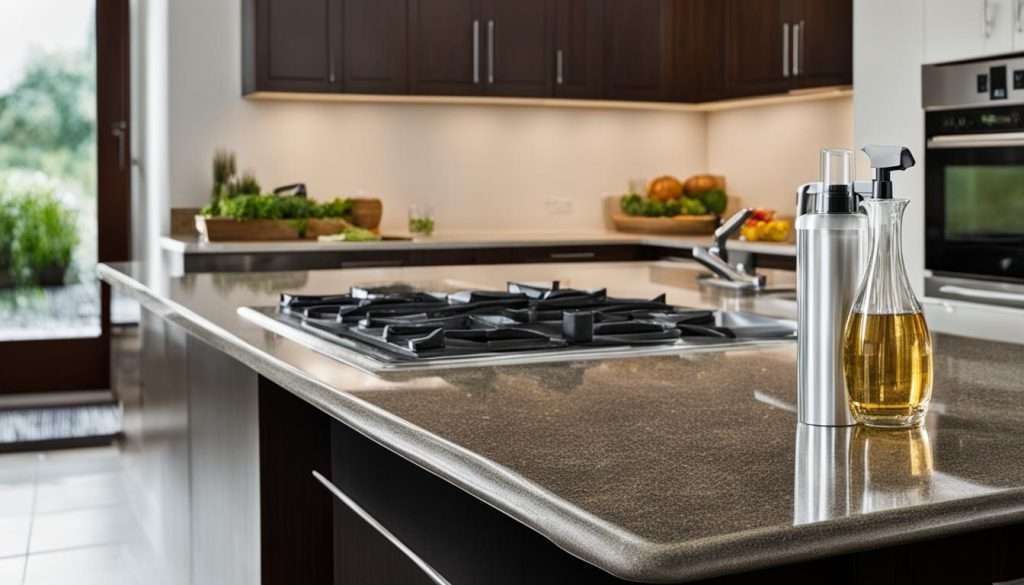
When it comes to cleaning surfaces around your home, sometimes the simplest solutions are the most effective. One cost-effective cleaning method that has been used for generations is the combination of water and vinegar. This humble mixture is a powerful and versatile cleaner that can be used on various surfaces, from kitchen worktops to bathroom tiles.
To create this solution, simply mix equal parts of water and vinegar in a spray bottle or a bucket. You can then use this solution to wipe down surfaces, removing dirt, grime, and even stains. The acidity of vinegar helps to break down and dissolve tough residues, while water provides a gentle and effective cleaning agent.
Not only is cleaning with water and vinegar cost-effective, but it is also an environmentally friendly alternative to harsh chemical cleaners. Vinegar is a natural disinfectant and deodorizer, making it a safe option for cleaning your home. So the next time you need to tackle dirty surfaces, reach for this affordable and eco-friendly cleaning solution.
Benefits of Cleaning with Water and Vinegar:
- Cost-effective solution
- Environmentally friendly alternative
- Natural disinfectant and deodorizer
- Effective on various surfaces
Clean Surfaces with Water and Vinegar
When it comes to cleaning surfaces in your home, you don’t always need expensive cleaning products. A simple and cost-effective solution is to use a mixture of water and vinegar. This versatile cleaning method is not only budget-friendly but also eco-friendly.
The water and vinegar solution is effective in removing dirt and grime from various surfaces, such as worktops, kitchen shelving, and even bathroom tiles. To create the solution, simply mix equal parts of water and vinegar in a spray bottle or a bowl. Then, use a clean cloth or sponge to apply the mixture to the surfaces you want to clean.

Benefits of Water and Vinegar Solution for Cleaning:
- Cost-effective: Vinegar is a common household ingredient that is affordable and readily available.
- Eco-friendly: Using water and vinegar reduces the need for harsh chemicals that can be harmful to the environment.
- Effective: The acidity of vinegar helps break down dirt and grime, making it easier to clean surfaces.
- Safe: Water and vinegar solution is generally safe to use on various surfaces, including countertops, glass, and stainless steel.
Precautions When Using Water and Vinegar Solution:
- Avoid using vinegar on porous surfaces, such as marble or granite, as it may cause damage.
- Test the solution on a small, inconspicuous area before applying it to larger surfaces.
- Avoid using vinegar on electronics or delicate items that may be sensitive to acidity.
| Surface | Water and Vinegar Ratio | Recommended Cleaning Method |
|---|---|---|
| Kitchen Countertops | Equal parts water and vinegar | Apply the solution with a cloth or sponge, then wipe clean. |
| Bathroom Tiles | Equal parts water and vinegar | Scrub the tiles with a brush or sponge soaked in the solution, then rinse with water. |
| Glass Surfaces | 1 part water to 2 parts vinegar | Spray the solution onto the glass and wipe clean with a microfiber cloth. |
Clean Grimy Iron with Salt and Foil
If your iron is covered in grime, there’s no need to purchase expensive cleaning products. Instead, turn on your iron without steam and place a piece of aluminum foil with some salt sprinkled on top. The salt will help remove the grime, leaving your iron clean and ready to use. This cost-effective method is a quick and easy way to restore the functionality of your iron.
To clean your grimy iron using the salt and foil method, follow these simple steps:
- Start by turning on your iron and setting it to a medium or high heat.
- Once the iron is heated, turn off the steam function if applicable.
- Take a sheet of aluminum foil and crumple it into a loose ball.
- Sprinkle a generous amount of salt onto the foil.
- Using the foil as a scrubber, rub the salted side across the surface of the iron.
- Continue rubbing until the grime and residue is loosened and removed.
- Once the iron appears clean, wipe it down with a damp cloth to remove any remaining salt or residue.
- Allow the iron to cool completely before using it again.
This simple and cost-effective method will help you remove grime from your iron without the need for harsh chemicals or expensive cleaners. It’s a quick and easy solution that will leave your iron clean and ready to tackle your laundry.
| Pros | Cons |
|---|---|
| Cost-effective | May require some scrubbing |
| Quick and easy process | May not be suitable for delicate irons |
| Does not require harsh chemicals | Can leave residue on iron surface if not wiped properly |
Use a Toothbrush for Cleaning Keyboards
When it comes to keeping your keyboard clean and free from dirt and debris, a simple and inexpensive solution is using a toothbrush. The small bristles of a toothbrush are perfect for reaching those hard-to-clean areas between the keys, ensuring a thorough cleaning.
To clean your keyboard effectively, start by unplugging it from your computer or laptop. Then, gently brush the keys and the spaces in between using a damp toothbrush. Use a mild cleaning solution if needed, but be cautious not to get the keyboard too wet to avoid any potential damage. Once you have thoroughly cleaned the entire keyboard, wipe it dry with a clean cloth or paper towel.
Regularly cleaning your keyboard not only helps to maintain its appearance but also prevents the buildup of dust, debris, and bacteria. By using a toothbrush for cleaning your keyboard, you can ensure that it remains in optimal condition, providing you with a pleasant and hygienic typing experience.
Benefits of Using a Toothbrush for Cleaning Keyboards
- Effective in removing dirt, dust, and debris from hard-to-reach areas
- Inexpensive and easily accessible cleaning tool
- Gentle on the keys and won’t cause damage
- Helps prevent the buildup of bacteria on the keyboard
- Convenient for regular keyboard maintenance
Tips for Cleaning Keyboards
- Unplug the keyboard before cleaning to avoid any electrical issues.
- Avoid using excessive moisture or cleaning solutions that may damage the keyboard.
- Regularly clean your keyboard to prevent the buildup of dirt and bacteria.
- Consider using a keyboard cover to protect it from spills and debris.
- Use compressed air or a can of air duster to remove loose debris before using a toothbrush.
| Keyboard Cleaning Method | Pros | Cons |
|---|---|---|
| Toothbrush | – Effective in reaching small crevices – Inexpensive and readily available – Gentle on the keyboard |
– May not remove tough stains – Requires manual effort |
| Cotton Swabs | – Ideal for cleaning small areas – Can be used with cleaning solutions |
– May leave behind cotton fibers – Not as effective for larger areas |
| Cleaning Putty | – Picks up dirt and debris effectively – Reusable and easy to use |
– May leave residue if not used correctly – Not suitable for heavy cleaning |
| Compressed Air | – Removes loose debris effectively – Easy to use |
– Doesn’t remove sticky residue – May not reach all areas |
Use a Lemon to Clean Stainless Steel
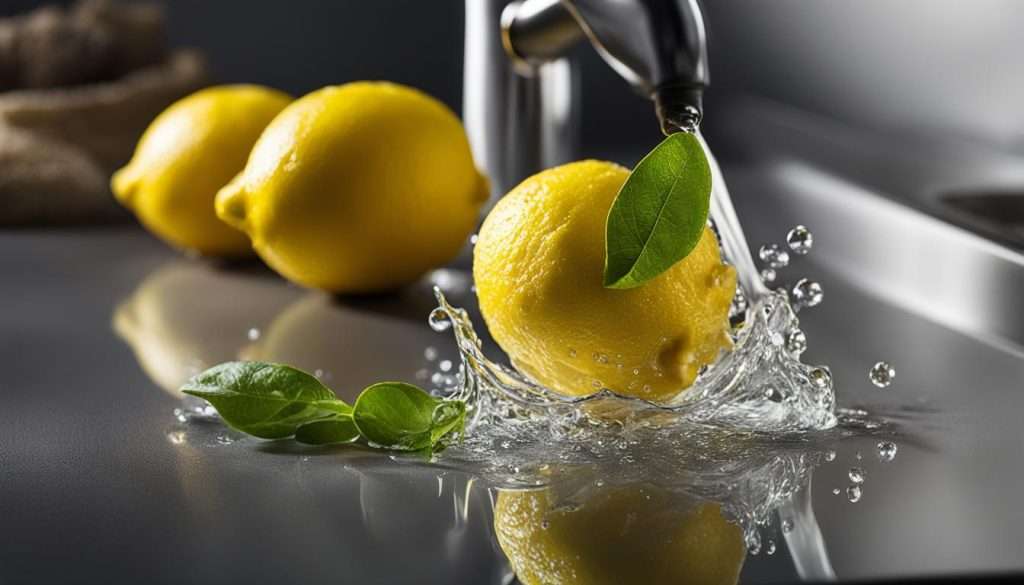
Stainless steel surfaces can be easily cleaned and restored using a lemon. Cut a lemon in half and use it to scrub stainless steel sinks, taps, and other surfaces. The acidity of the lemon helps remove water stains while leaving a fresh and citrusy scent in your home. This natural cleaning method is both cost-effective and eco-friendly.
Stainless steel appliances and fixtures can often accumulate water stains and fingerprints, making them appear dull and dirty. However, with a simple lemon cleaning method, you can bring back their shine and cleanliness. Lemons contain citric acid, which acts as a natural cleaner and helps dissolve hard water stains and mineral deposits.
To clean stainless steel surfaces, take a lemon and cut it in half. Rub the cut side of the lemon directly onto the stainless steel, working in circular motions. The acidity of the lemon will break down the stains and remove any grime or residue. For tougher stains, you can sprinkle some baking soda on the surface and then scrub it with the lemon.
After scrubbing, rinse the stainless steel surface with water and wipe it dry with a clean cloth. You’ll be amazed at how the lemon can restore the shine and remove water stains, leaving your stainless steel surfaces looking brand new. Plus, the fresh citrus scent will leave your home smelling clean and refreshing.
| Lemon Cleaning Method for Stainless Steel | Benefits |
|---|---|
| 1. Cut a lemon in half. | – Easy and inexpensive cleaning method |
| 2. Rub the cut side of the lemon onto the stainless steel surface. | – Removes water stains and mineral deposits |
| 3. Scrub in circular motions to break down stains. | – Restores shine and cleanliness |
| 4. Rinse with water and wipe dry with a clean cloth. | – Leaves a fresh citrus scent |

Why use lemons for cleaning stainless steel?
Lemons are a natural and cost-effective alternative to harsh chemical cleaners. They contain citric acid, which acts as a mild abrasive and can break down stains without scratching the stainless steel surface. Lemon also has antibacterial properties, making it an excellent choice for cleaning and disinfecting your stainless steel items.
- Safe and non-toxic: Lemons are a natural cleaning agent that is safe to use around children and pets. Unlike chemical cleaners, lemons do not release harmful fumes or leave behind toxic residue.
- Eco-friendly: Using lemons for cleaning reduces your reliance on chemical cleaners, which can be harmful to the environment. Lemons are biodegradable and produce less waste compared to disposable cleaning wipes or paper towels.
- Cost-effective: Lemons are affordable and readily available in most households. By using lemons for cleaning, you can save money on expensive cleaning products and achieve the same, if not better, results.
Next time your stainless steel surfaces need a refresh, reach for a lemon and discover the power of natural and effective cleaning.
Clean TV and Computer Screens with Coffee Filters
When it comes to keeping our screens clean and dust-free, many of us reach for cloth wipes or paper towels. However, these materials often leave behind lint and can even scratch delicate screens. Luckily, there’s a cost-effective and efficient alternative – coffee filters.
Coffee filters are designed to be lint-free, making them perfect for cleaning screens without leaving any residue behind. Simply take a coffee filter and gently wipe the screen in a circular motion. The soft texture of the filter will effectively remove dust and smudges, leaving your screens crystal clear.
It’s important to note that coffee filters should only be used dry and not dampened with any liquid. This will ensure that no moisture seeps into the screen and avoids any potential damage.
Why Coffee Filters Are Ideal for Screen Cleaning
- Lint-free: Coffee filters are designed to be lint-free, reducing the risk of leaving behind unwanted residue on your screens.
- Gentle on screens: The soft texture of coffee filters makes them safe to use on delicate screens, preventing scratches and damage.
- Cost-effective: Coffee filters are an affordable option for screen cleaning, offering a budget-friendly solution without the need for expensive cleaning products.
- Readily available: Coffee filters are easily accessible, making them a convenient choice for quick and effective screen cleaning.
| Pros | Cons |
|---|---|
| Lint-free cleaning | Not suitable for damp cleaning |
| Gentle on screens | Requires gentle handling to avoid tearing |
| Affordable option | May not be as effective on stubborn stains |
| Readily available |
Furniture Cleaning: Removing Water Marks with a Hairdryer
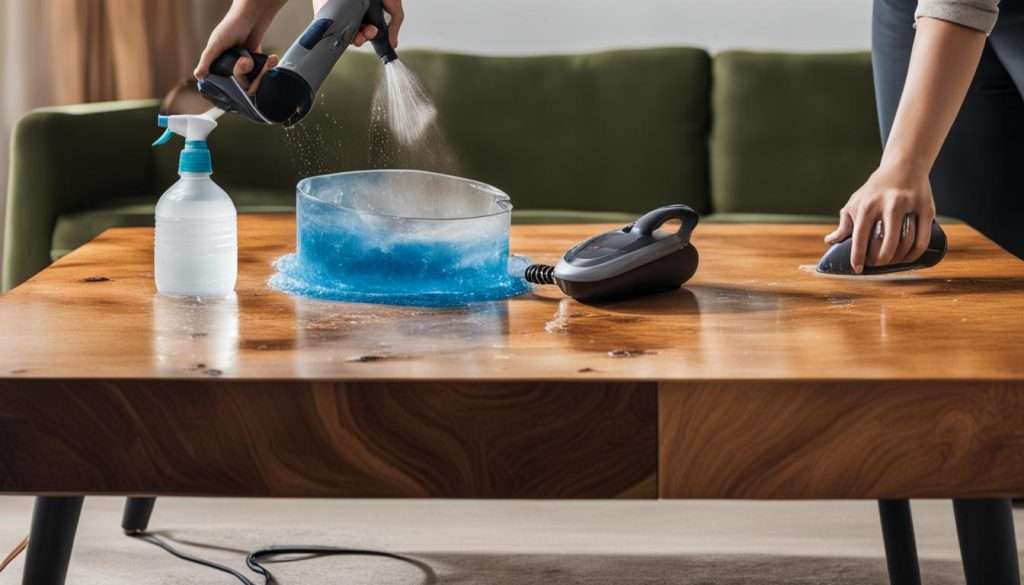
Water marks on wooden furniture can be an unsightly blemish, but there’s no need to panic. With a simple cleaning method using a hairdryer, you can easily restore the appearance of your furniture without the need for expensive cleaning products.
To remove water marks from your wooden furniture, follow these steps:
- First, make sure the furniture is completely dry. Use a clean cloth to gently wipe away any surface dust or debris.
- Next, hold a hairdryer close to the water stain on the wooden surface. Set the hairdryer to a high setting and direct the hot air towards the water mark.
- Continue to move the hairdryer in a back-and-forth motion, maintaining a distance of about 6 inches from the surface. The heat from the hairdryer will cause the water to evaporate, effectively removing the stain.
- Once the water mark has disappeared, use a soft cloth to buff the area gently. This will help restore the shine and smoothness of the wood.
By using a hairdryer, you can easily and cost-effectively remove water marks from your wooden furniture. Remember to always test the method on a small, inconspicuous area of the furniture before applying it to the entire surface.
| Advantages | Disadvantages |
|---|---|
| Cost-effective method | May not work on all types of wood |
| No need for expensive cleaning products | Requires caution to avoid heat damage |
| Quick and easy solution | Test on small area before applying to the entire surface |
Overall, using a hairdryer to remove water marks from your wooden furniture is a simple and effective solution. With a little care and patience, you can restore the beauty of your furniture and keep it looking its best.

Toilet Cleaning Made Easy with Cola
When it comes to cleaning the toilet, you don’t need to rely on harsh chemicals or expensive cleaning products. A simple bottle of cola can do the trick. Using cola to clean your toilet is a budget-friendly and effective method that can help remove tough stains and leave your toilet sparkling clean.
To clean your toilet with cola, start by pouring a can of cola into the toilet bowl. Make sure the cola covers the stains and let it sit for about an hour. The phosphoric acid in the cola helps break down the stains, making them easier to scrub away.
After the cola has had time to work its magic, use a toilet brush to scrub the bowl. Pay special attention to the stained areas, applying a bit more pressure if needed. Flush the toilet and repeat the process if necessary until the stains are completely gone.
This cost-effective and eco-friendly cleaning hack is a great way to maintain a clean and fresh-smelling toilet without the need for harsh chemicals. So the next time your toilet needs a deep clean, reach for a bottle of cola and let its fizzy power do the job.
Table: Benefits of Using Cola to Clean the Toilet
| Benefits | Description |
|---|---|
| Cost-effective | Cola is a cheap and readily available cleaning solution that can save you money on expensive toilet cleaners. |
| Effective against stains | The phosphoric acid in cola helps break down tough stains, making them easier to remove. |
| Eco-friendly | Using cola to clean your toilet reduces the need for harsh chemicals, making it a more environmentally friendly option. |
| Easy to use | The process of using cola to clean the toilet is simple and requires minimal effort. |
Clean Your Bathtub with Grapefruit
If you’re looking for a natural and cost-effective way to clean your bathtub and remove stubborn soap scum, look no further than a grapefruit. This citrus fruit contains natural acids that can help dissolve soap scum and leave your bathtub sparkling clean.
To use the grapefruit cleaning method, simply cut a grapefruit in half and sprinkle some rock salt on top. Then, use the grapefruit as a scrubber and scrub the surface of your bathtub. The natural acids in the grapefruit will break down the soap scum, while the rock salt acts as an abrasive to help remove any tough stains.
This eco-friendly cleaning hack not only leaves your bathtub clean and fresh but also provides a pleasant citrus fragrance in your bathroom. Plus, it’s a budget-friendly alternative to expensive cleaning products that often contain harsh chemicals.
How to Clean Your Bathtub with Grapefruit:
- Cut a grapefruit in half.
- Sprinkle rock salt on top of the cut side of the grapefruit.
- Use the grapefruit as a scrubber and scrub the surface of your bathtub.
- Rinse the bathtub thoroughly with water.
- Enjoy your clean and fresh-smelling bathtub.
| Grapefruit Cleaning Method | Benefits |
|---|---|
| Natural and eco-friendly | Reduces the use of harsh chemicals |
| Cost-effective | Avoids the expense of commercial cleaning products |
| Fragrant | Leaves a pleasant citrus scent in your bathroom |
| Effective | Dissolves soap scum and removes tough stains |
Cleaning Plastic Containers and Removing Curry Stains: A Budget-Friendly Method
When it comes to cleaning plastic containers, especially those with stubborn curry stains, you don’t need expensive cleaning products. With a simple and cost-effective method using washing up liquid and bleach, you can easily remove stains and restore your containers to their former glory.
To begin, create a cleaning solution by mixing equal parts washing up liquid and bleach with water. The washing up liquid helps to break down grease and grime, while the bleach tackles tough stains. The combination of these two ingredients works effectively to remove curry stains and eliminate any lingering odors.
Once you have your solution ready, pour it into the plastic containers and ensure that they are fully submerged. Allow the containers to soak for at least an hour, or overnight for more stubborn stains. The solution will penetrate the stains, loosening them and making them easier to remove.
After soaking, drain the solution and rinse the containers thoroughly with water. Make sure to remove any residue or cleaning solution from the containers. Finally, dry the containers completely before using them again. Your plastic containers will be clean, stain-free, and ready to be used for storing your favorite foods!
The benefits of using the washing up liquid and bleach cleaning method:
- Cost-effective: Washing up liquid and bleach are affordable household items that are readily available.
- Effective stain removal: The combination of washing up liquid and bleach is powerful in breaking down curry stains and removing odors.
- Convenience: You can easily clean your plastic containers at home without the need for expensive cleaning products or professional services.
- Safe and hygienic: This cleaning method ensures that your plastic containers are thoroughly cleaned and ready to be used for storing food, providing a safe and hygienic storage solution.
Summary:
Cleaning plastic containers and removing curry stains doesn’t have to be a daunting task. By using a simple and cost-effective method with washing up liquid and bleach, you can easily eliminate stubborn stains and restore your containers. This budget-friendly approach allows you to maintain clean and odor-free plastic containers for storing your favorite foods.
| Benefits | Method |
|---|---|
| Cost-effective | Use washing up liquid and bleach |
| Effective stain removal | Soak containers in the solution |
| Convenience | Easy to clean at home |
| Safe and hygienic | Thoroughly clean and ready for food storage |
Deep Clean Shower Head
Your shower head can become clogged with mineral deposits over time, leading to reduced water flow and a less enjoyable showering experience. Fortunately, there is a cost-effective and simple method to deep clean your shower head and remove these mineral deposits.
To start, you will need baking soda and vinegar. Fill a sandwich bag with a mixture of equal parts baking soda and vinegar. Secure the bag around the shower head using an elastic band, ensuring that the shower head is fully immersed in the solution.
Leave the bag in place overnight to allow the baking soda and vinegar to dissolve the mineral deposits. The combination of these two ingredients helps to break down the deposits and restore optimal water flow. The next day, carefully remove the bag and use an old toothbrush to scrub the shower head, ensuring that all remaining residue is removed. Finally, rinse the shower head thoroughly with water.
This baking soda and vinegar cleaning method is not only effective but also environmentally friendly. It eliminates the need for harsh chemicals and expensive cleaning products, making it a budget-friendly choice for maintaining the cleanliness and functionality of your shower head.
